Directions
Today, I’m going to try something a little bit different. Bear with me. If this isn’t your thing, I won’t be offended if you skip out right after this next paragraph, but I’d think you were really awesome if you hung in just a little longer.
A while back, I was treated to an amazing Moroccan dish called a Tajine. There are lots of different Tajines out there, but they basically all include a braised, slow cooked meat (chicken, beef, lamb), stewed with both sweet fruits and savory spices. There’s a ton of flavor going on in there. I’ve never had anything like it. The Moroccan meal I was lucky enough to eat was incredible. I remember chicken, olives, raisins, almonds, some spicy kick, an amazing stewed sauce, and beautifully slivered lemons. Those lemons are what we’re going to talk about today.
One of the key ingredients in Moroccan Tajines, and Moroccan cooking in general is preserved lemons. Preserved lemons are, basically, salted lemons. They are lemons that have been packed with salt and left to muddle around in their own salty, lemony juices for a while before being used in a recipe. They are salty, but add an exquisite lemon punch and savoriness to a recipe. I’ve been reading a lot about them online lately, and a lot of the articles I read, referred to them as that “special something” that just makes the meal.
Ever since I had that meal, I’ve tried to recreate that savory/sweet/lemony flavor at home. The meals I’ve made have had the same basic ingredients, except for the preserved lemons, and they’ve been good, but not great. I finally decided that I needed to buck up and try preserving some lemons myself.
So, here’s my thought for today. I’m proposing that we take on this little culinary adventure together! What do you think? Want to join me? Today, I’m posting the recipe for a jar of preserved lemons. The lemons need to hang out for a month before you can cook with them. Then, they keep in the fridge for six months. In thirty days, I’m going to open up my lemons, and try to cook up some amazing Moroccan food. I’ll share those recipes with you! Want to try?
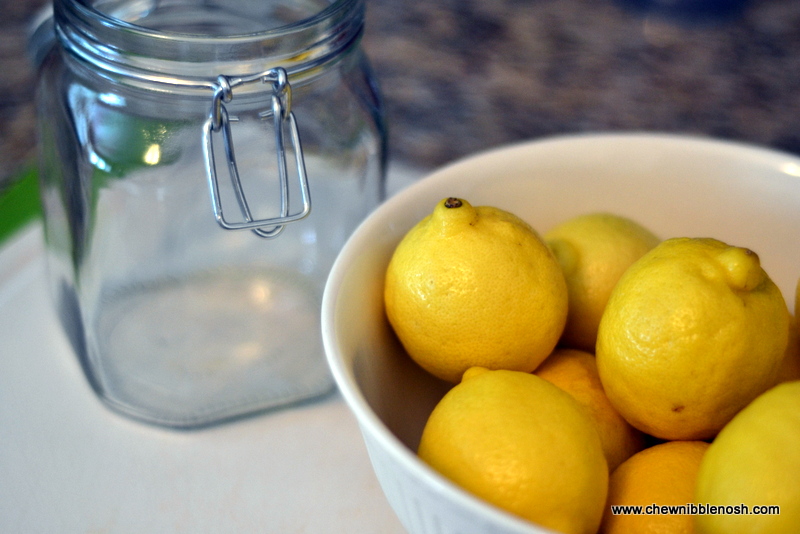
Preserving lemons is actually incredibly simple. To start, you’ll need a quart sized jar with a tight fitting lid, about ten lemons, and some kosher salt.
To begin, make sure that your jar is super clean. I scrubbed mine with hot soapy water, and then rinsed it a few times in super hot water. Then, I scrubbed my lemons. My hands didn’t appreciate it much, but the jar and lemons did.
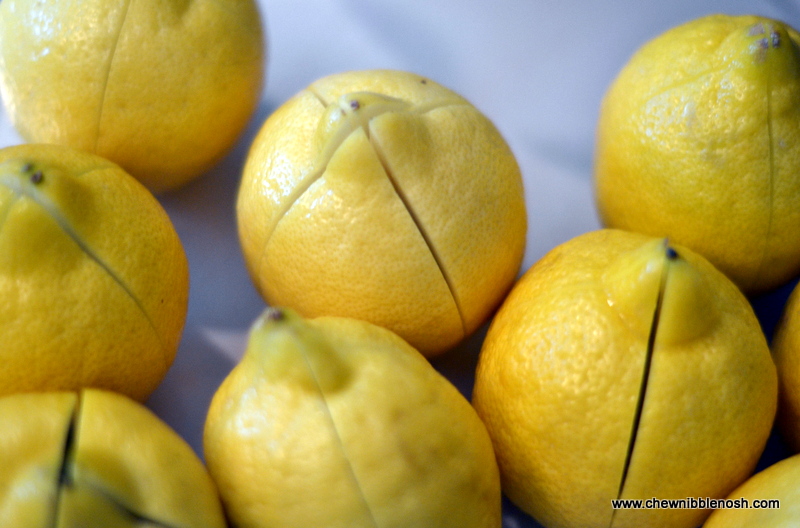
If the lemon has a little knob where the stem was, cut off that little rounded bit. Set the lemon on that end and slice downward, lengthwise, stopping about 1 inch from the bottom. Then, make another slice in the lemon so that you’ve cut the lemon with an X shape.
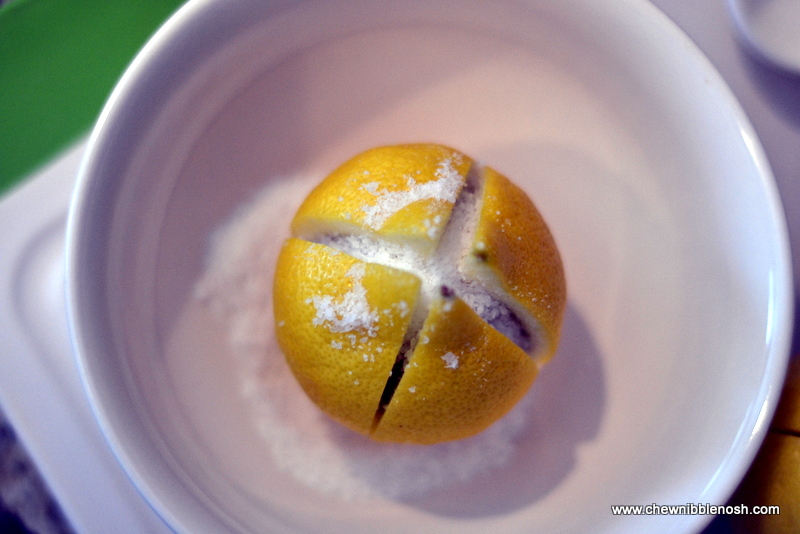
Next, it’s time to salt the lemons. I put the lemon in a small bowl and then packed each lemon with about a tablespoon of kosher salt.
Once the lemon was stuffed with the salt, I packed it into the jar.
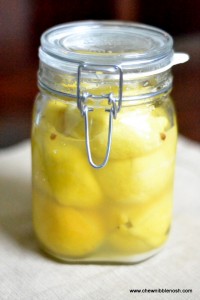
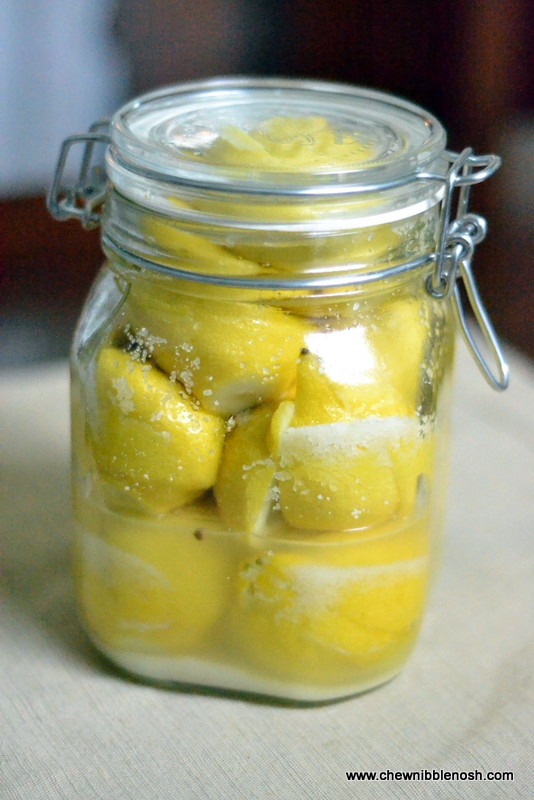
I continued with my lemons, salting and pressing into the jar, until the jar was filled almost to the top and the lemons started releasing their juices. I was able to cram ten lemons into that jar! I also pushed in a bay leaf and a few coriander seeds, because I had them on hand. If you don’t have these, it’s no big deal. You could also add a dried chili and/or a cinnamon stick, if you want.
Using the handle of a wooden spoon, I smooshed the lemons in as much as I could, and closed up the top.
The next day, there was significantly more juice in the jar than the day before. I opened the jar again, pushed the lemons down again with the handle of the spoon, and closed her back up.
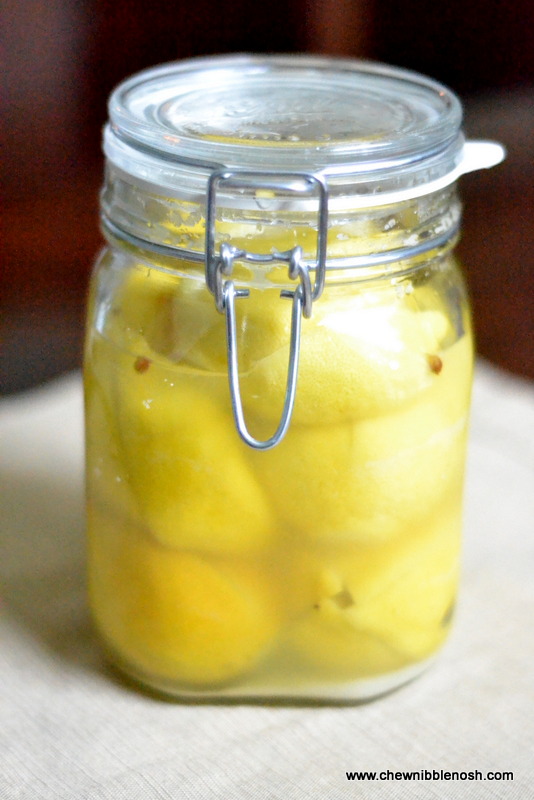
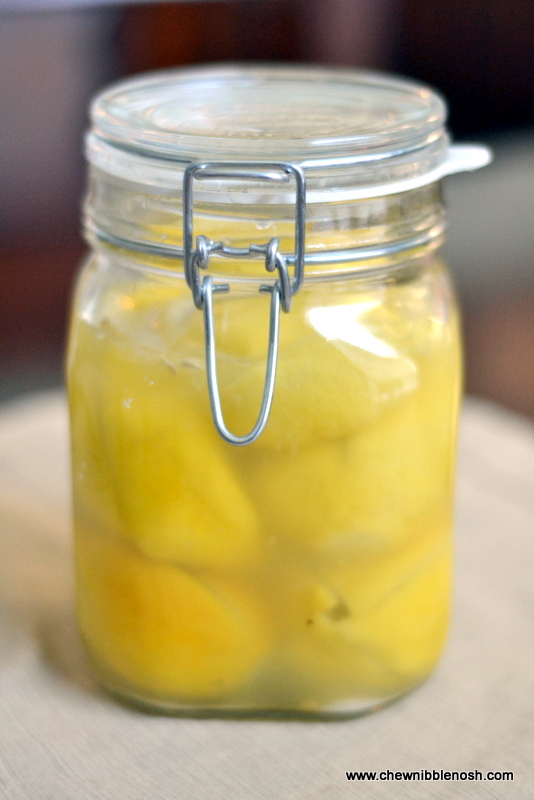
On day three, I did the same thing. Opened her up, pushed in the lemons, and closed the jar back up. Now, the lemons were completely covered in juice.
Now, the lemons were ready to…..sit.
And sit they will, for a whole month. After that time is up, I’ll be back here to share the results with you. I’m hoping that you’ll take a few minutes this weekend to grab a jar and get some lemons going in your own house! If you are joining in on the project, let me know! Leave a comment here, or you can even post a photo of your lemons on Chew Nibble Nosh’s Facebook page or show me on Twitter (@chewnibblenosh). I’d love to see them!
Have a great weekend!
| Moroccan Preserved Lemons |
- 10-12 smallish, evenly sized lemons (I bought a bag of lemons at the grocery store. They were all the same size and not too big.)
- kosher salt
- coriander seeds, bay leaf, cinnamon stick, dried chili (All are optional. Use whatever you have, or none at all.)
- 1 clean 1-quart glass jar with a tight fitting lid.
- Scrub the lemons well with a vegetable brush and dry them off.
- If the lemons have a little nub where stem was, cut off that little bump.
- Set a lemon on that sliced edge and, using a sharp knife, make a large cut lengthwise, down the lemon, stopping about 1 inch from the bottom of the lemon. Repeat, making another slice, so that you’ve cut an X shape into the lemon from the top. Slice each lemon this way.
- Pack each lemon with kosher salt, about 1 Tbsp. of salt per lemon, where you’ve made the incisions. Pack in as much salt as you can.
- Put the salt filled lemons in your clean glass jar. Press them firmly into the jar, releasing their juices. If desired, add a bay leaf, a few coriander seeds, cinnamon stick or dried chili to the mix. Close the jar and let it stand overnight.
- The next day, press the lemons down into the jar some more, releasing more of their juices. Repeat this for 2-3 days, until the lemons are submerged in juice. If your lemons aren’t juicing up quite enough, add more freshly squeezed lemon juice (not the bottled stuff!) to the top to cover them on the third day.
- Put the lemons aside for one month. Dream of wonderful meals to come.
- After one month, the lemons will be softer and they are ready to use. At this point, store the lemons in the refrigerator. They will keep there for 6 months.
- To use the lemons:
- Remove the desired amount of lemons from the liquid (with a fork! Don’t stick your fingers in and add bacteria to the mix!) and rinse them off. Split the lemon in half and scrape out the pulp. Slice the lemon peels into thin strips or dice. You may press the pulp through a sieve to obtain the flavorful juice, which can also be used as flavoring. (I’ve heard it helps make a mean Bloody Mary.) Discard the remaining pulp and pith.


