Directions
Sunday was Avery’s 6th birthday. How did we get to six so quickly? My baby isn’t a baby anymore. In fact, just yesterday she was telling me that someone at school mistook her for a Kindergartener and she was highly offended. *sigh* It just happens too fast, and I don’t know what it is about the second child, but it seems to happen a lot faster since she came along.
In our house, you rule the menu roost on your birthday. If there’s one treat Miss Avery loves for breakfast, it’s an ooey gooey cinnamon roll. Who doesn’t? There’s a lot of amazing food out there, but there may be nothing like a warm cinnamon roll, dripping in cream cheese icing, right out of the oven. It’s ooey gooey heaven.
I decided that, in honor of Avery’s birthday, I’d try making homemade cinnamon rolls for the very first time. I’ve made plenty of pop-the-can-open rolls, and loads of pans full of monkey bread and quick cinnamon roll knock offs, and they are all delicious. For Avery’s birthday, though, I wanted to try my hand at old-fashioned, old school cinnamon rolls. For some reason, they’ve always intimidated me and I’ve never tried them. It goes back to my fear of yeast. I’m getting better about baking yeast breads, but I’m always a little nervous that I’m going to, somehow, screw it up.
This recipe is hard to screw up. If you follow the directions and use the right ingredients, you should be good to go. Now that I’ve made these successfully, and realized how easy they are, I may never go back to the rolls in a can.
These rolls are easy to make, but they do take some tender love, care, and time. You need to start making them the night before. What’s nice, though, is that the toughest part of the recipe comes together the day before. That way, when you’re trying to get some coffee in you and pry your eyes open in the morning, you don’t have to think too hard.
I started by mixing up the dough. In the bowl of my stand mixer, I whisked together some egg yolks and an egg, both at room temperature, some sugar, melted butter, and buttermilk. Once that was mixed up, I added a couple of cups of flour and a packet of Instant dry yeast to the mix.
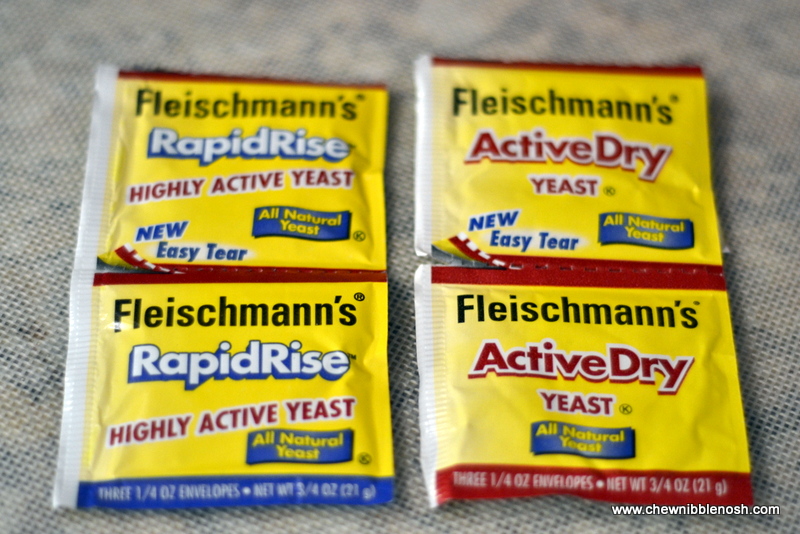
There are two kinds of yeast waiting for you in the baking aisle, RapidRise (Instant) and Regular.
For this recipe, make sure you grab the RapidRise!!!
Once the first batch of flour and the yeast was mixed in nicely, I traded out the whisk attachment for my dough hook and added some more flour. I started with a cup more and kept adding a little more until the dough was soft and moist, but not sticky to the touch. After the dough had kneaded in the mixer for about five minutes, I turned the dough out onto some flour and kneaded it by hand for about thirty seconds.
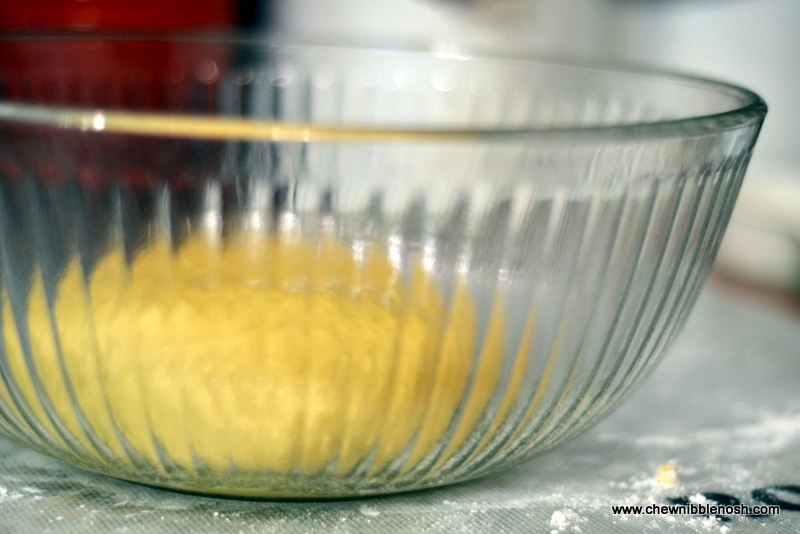
After that, I put the ball of dough in a large bowl that I’d sprayed with nonstick spray.
I covered the bowl with a towel and let it rest for 2 1/2 hours.
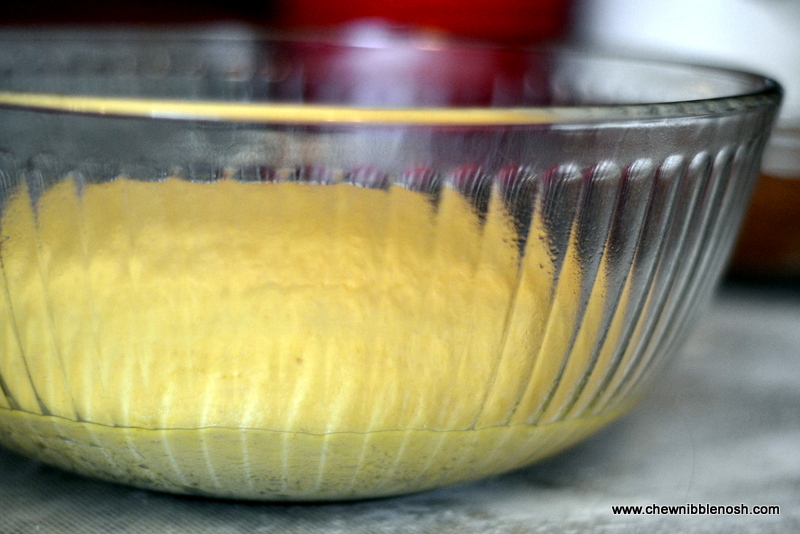
After the rest time, the dough had doubled in size.
Yay! The yeast worked! Scary Step One: Complete.
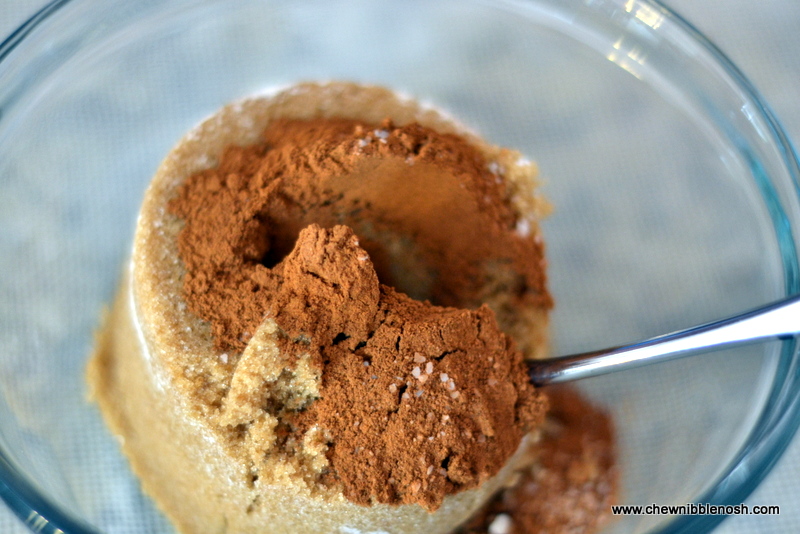
Before I rolled out my dough, I mixed together my filling of brown sugar, cinnamon, and some salt.
I buttered my 9×13 inch pan and set it aside, and then I got to work on the dough.
This dough was, hands down, the softest, nicest bread dough I’ve ever worked with. I know that sounds silly, but if you’ve ever worked with yeast dough, you know what I mean. When I pressed on the dough, I was able to easily spread it out into a large rectangle, and it kept its shape. It didn’t shrink up on me, like pizza dough does every time I try to work with it. It was like squishing a pillow. (I know, still silly.) Just trust me.
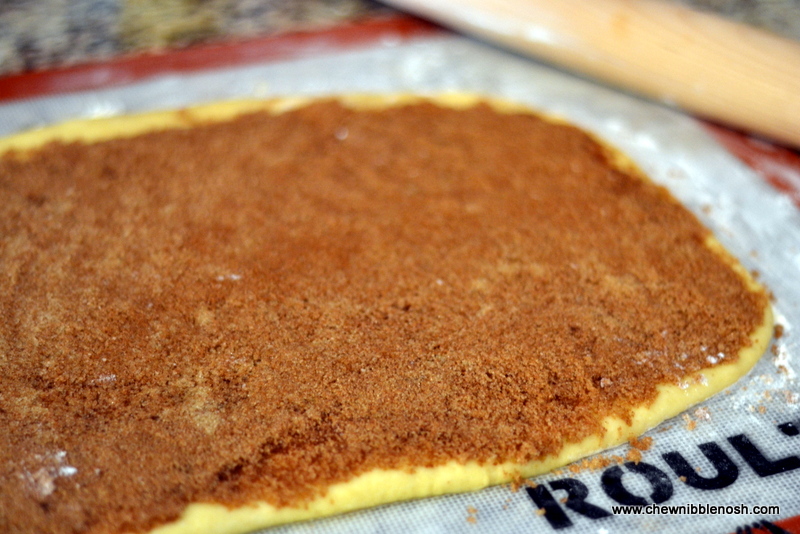
I shaped the dough into a large rectangle and then used my rolling pin to just help it out a little bit, and rolled it to 12×18 inches. Then, I spread that yummy filling all over the dough, covering it from end to end, and just leaving a bit at the top uncovered.
Then, I carefully rolled up the dough (starting with the longest edge near me) as tightly as I could. Once it was rolled up, I was able to pinch the bit at the top into the roll to seal it. I placed the roll seam side down, and pressed the ends in a little until it was an even, cinnamon filled cylinder.
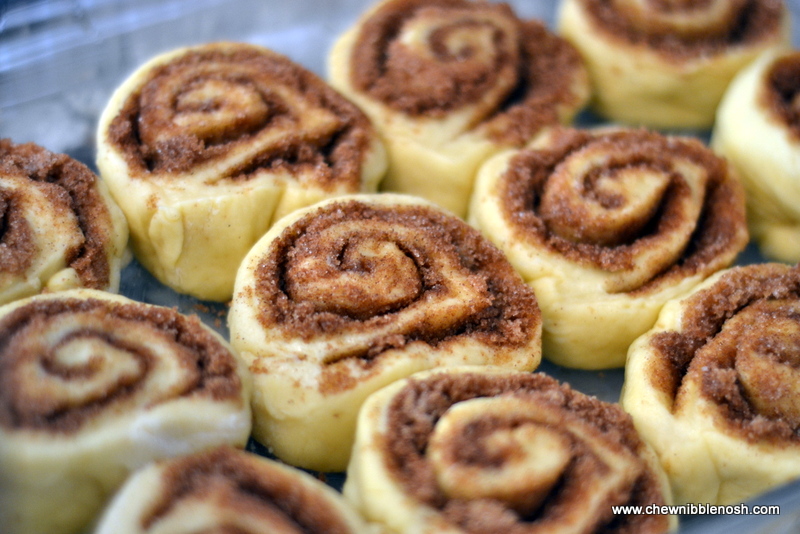
Using my serrated knife, I carefully sliced the cylinder into twelve rolls. Each roll was about 1 1/2 inches thick. I placed the rolls in my buttered pan, covered it with plastic wrap, and put it in the fridge where it stayed overnight.
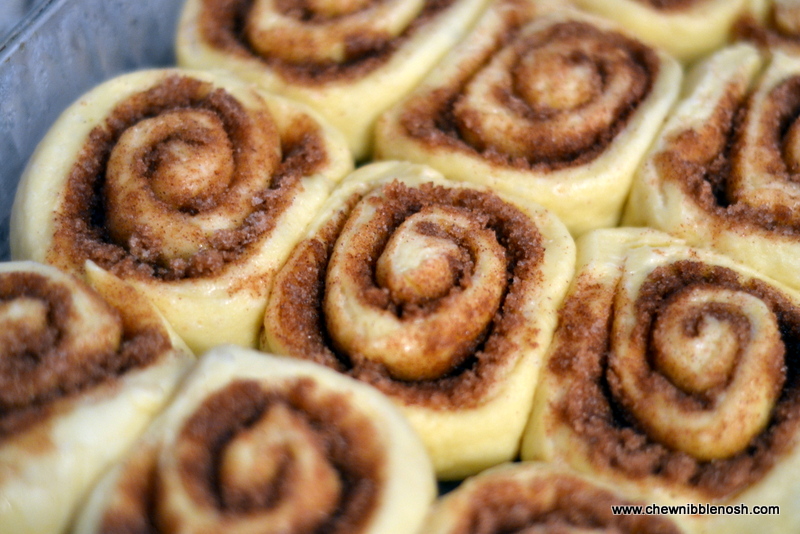
In the morning, I took the rolls out of the fridge to find that they had puffed up a little bit more. Yay! The yeast was still working! (Phew!) Before I baked them, I needed to give them one more rise, and a chance to warm up a bit.
I placed my pan of rolls in the oven, which was turned off, and under the dish I put a smaller dish filled with boiling water. I closed the oven door and let them warm up, in the moist heat, for thirty minutes.
When I took them out of the oven after rising, they’d poofed up even more! (I was pretty hopeful at this point!)
I removed the water pan from the oven and then heated the oven up to 350*. Once it was hot, the rolls went back into the oven and baked for about 25 minutes, until they were golden brown on top, and my house smelled divine.
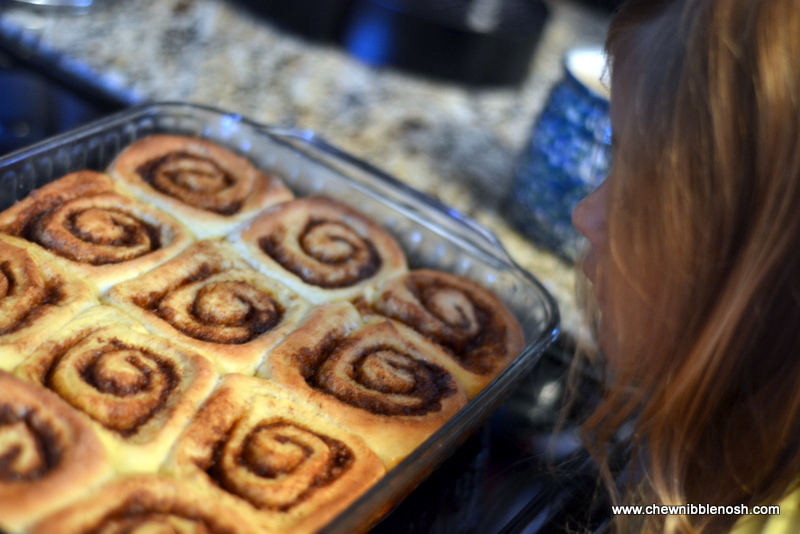
Once the rolls were out, I let them cool for a minute as I whipped together a quick, cream cheese based icing. I whisked up some cream cheese, milk, and powdered sugar. That’s it. Simple!
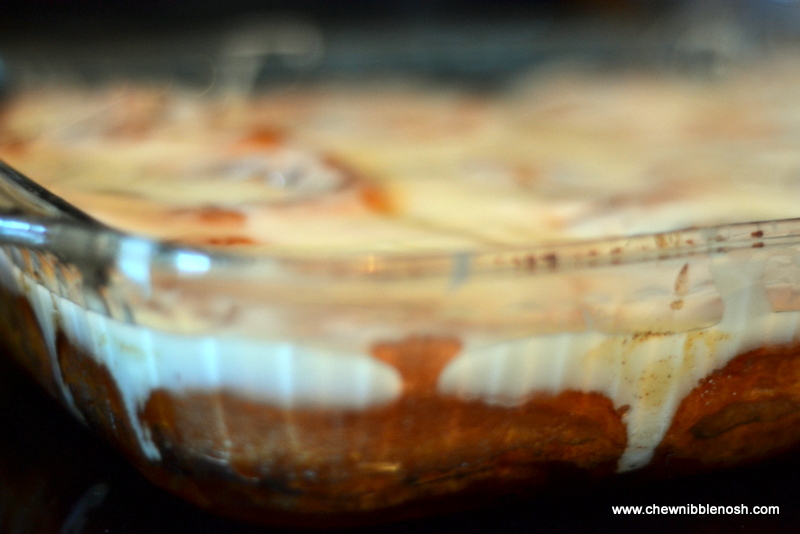
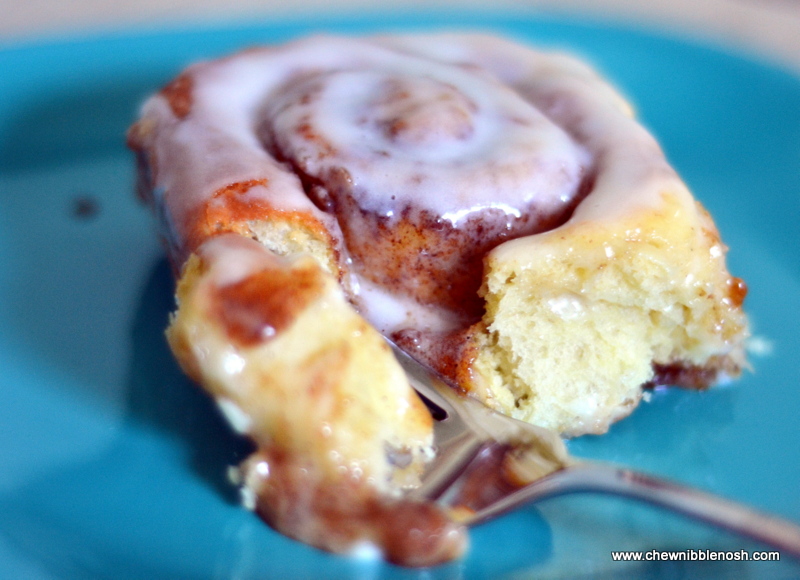
I poured the icing all over the pan of rolls and let it drip down in all the nooks and crannies. The icing is pretty sweet, so if you’re not into tons of icing, just drizzle it over the top. We went whole hog.
Oink.
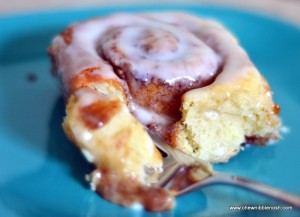
They were delicious…cozy, comforting, smells-amazing de-licious. I’m now kicking myself for never making homemade cinnamon rolls before. Besides being easier than I imagined, it was kind of fun! I’ll definitely make them again.
The birthday girl was a happy camper and the rest of us were pretty glad we got to celebrate right along with her. YUM! We polished off half of the pan on Avery’s birthday, and they are best warm, right out of the oven. Don’t fret, though. If you make them and have some left over for the next day, just reheat them in the microwave for about 15-20 seconds (for an individual roll), and they’re good as new!
Happy Birthday, Avery!
| Gooey Overnight Cinnamon Rolls |
- For the Dough:
- 4 large egg yolks, at room temperature
- 1 large whole egg, at room temperature
- 1/4 cup sugar
- 6 Tbsp. butter, melted
- 6 oz. buttermilk, at room temperature
- 4 cups (approx.) of all-purpose flour, plus additional flour for dusting
- 1 envelope RapidRise (Instant) yeast, approximately 2 1/4 tsp.
- 1 1/4 tsp. kosher salt
- nonstick spray
- For the Filling:
- 1 cup packed, light brown sugar
- 1 Tbsp. ground cinnamon
- pinch salt
- 1 1/2 Tbsp. butter, melted (for brushing the dough)
- For the Icing:
- 3 oz. cream cheese
- 3 Tbsp. milk
- 1 1/2 cups powdered sugar
- For the dough: Attach the whisk attachment to your stand mixer. Whisk the egg yolks, whole egg, sugar, butter, and buttermilk together. Add 2 cups of the flour along with the yeast and salt. Whisk until the mixture is moistened and combined. Remove the whisk attachment and replace it with your dough hook. Add 1 1/4 cups more of the flour and knead the dough on low-speed for 5 minutes. Check the consistency of the dough. If it is still very sticky, add more flour. The dough should feel soft and moist, but not sticky. Knead on low-speed for 5 minutes more, or until the dough pulls away from the sides of the bowl. Turn the dough out onto a floured surface and knead by hand for 30 seconds. Spray a large bowl with nonstick spray. Transfer the dough to the bowl, lightly spray the top of the dough with nonstick spray, cover the bowl with a towel and let it rest until it doubles in volume, about 2-2 1/2 hours.
- Combine the brown sugar, cinnamon, and salt in a small bowl. Mix until well combined. Set the mixture aside.
- Butter a 9×13 inch glass baking dish. Turn the dough out onto a lightly floured work surface. With your hands, gently shape the dough into a rectangle with the long side nearest you. Roll the dough into a 12×18 inch rectangle.
- Brush the dough with the 1 1/2 Tbsp. of melted butter, leaving a 1/2 inch border along the top. Sprinkle the brown sugar-cinnamon mixture over the dough, leaving a 3/4 inch border along the top edge. Beginning with the long side nearest you, carefully roll up the dough into a tight cylinder. Firmly pinch the seam to seal the roll, and place it seam side down. Gently squeeze the cylinder to create even thickness. Once even, use a serrated knife to carefully slice 12 rolls, each 1 1/2 inches thick. Arrange the rolls, cut side down, in the baking dish. Cover lightly with plastic wrap and place in the refrigerator overnight, or up to 16 hours.
- The next morning:
- Remove the rolls from the refrigerator and dispose of the plastic wrap. Place the pan of rolls in an oven that is turned off. Fill a shallow pan 2/3-full with boiling water. Place the water pan on the rack below the cinnamon roll pan. Close the oven door and let the rolls rise until slightly puffy, about 30 minutes. Remove the pan of rolls from the oven and dispose of the water.
- Preheat the oven to 350*.
- Place the rolls on the middle rack and bake until they are golden brown and baked through, between 25-30 minutes.
- As the rolls cool slightly, make the icing. Using a mixer, beat the cream cheese until creamy. Add the milk and beat until combined. Carefully, add the powdered sugar and whisk until smooth. Spread over the rolls and serve immediately.
**Rolls can be reheated in the microwave. 15-20 seconds a roll.
ENJOY!


